
OK, so let’s chat about the Bold One. This pattern has gone mental. People are making loads of variations and earlier this year, the pattern creator even hosted a Bold One picnic in London to which many, many ladies went – all wearing their dresses. I love that sewers are encouraged to use old duvet covers and that there are several varieties and ways of making the dress, all in one pattern.
So, I purchased the PDF pattern.
I have a vision. In December of this year, I will be getting 6m of beautiful Liberty cotton lawn in a design called ‘Wild Reniera’. You will note, this is named after me and, yes, I had a hand in the fabric’s design (an epic gift from COD a while back) and named it. Now, my plan is to make a dress for my big birthday – the Festival of Fifty – in July 2027 with this fabric and the Bold One looked to be an excellent pattern choice – summery, huge amounts of fabric but also elegant and party-worthy. You do not mess around with Liberty fabric (too expensive) so I decided to make a wearable toile.
What is a toile you ask? Well, it’s a practice garment – you generally use cheap fabric, don’t really finish seams properly but generally do this to ensure the fit is right and if not, you go back and tweak the pattern. LOD’s prom dress took four toiles to get the pattern right so there are discarded prom-style dress parts all over the sewing room! So, for my Bold One toile, I went to the Charity shop and sourced a rather lovely cotton duvet cover (superking) in the hopes that the £6.50 spent would provide enough fabric. Safe to say, I will get two Bold Ones out of the duvet cover and still have the pillow cases spare. So, it’s a cheap way to have beautiful summer dresses assuming you don’t have to pay for labour costs – total cost so far – pattern – £14, printing – £8 (I printed the instructions too) and fabric – £6.50. So, less than £30 for two dresses. If we added in labour and I charged myself say £15/hr (that’s not nearly enough but that’s the reality of sewing), it’s probably 8hrs total of pattern cutting, fabric cutting and sewing to get two dresses so a further £120 making the dresses now £75 each. Make of that what you will. Cheap for a handmade designer dress – expensive for fast fashion cotton dresses.
So, I’ve now fully made a Bold One dress (I finished the seams propeorly). Safe to say I love it but, I have some reflections and thoughts to share on what is meant to be a beginner friendly pattern. Worth noting I chose the low square front without shoulder ties and with the winged waist wrap. I think this will fit Mrs G better than me so will see if she would like v1 of The Bold One.
Reflections on the Bold One – Rossi.
- The sizing goes by bust measurement. Measure bust, pick the size that is closest and rounded up. My bust is 99cm so I followed the instructions and ordered the size 14 (bust size 101cm). It’s too big. I will for sure need to take 2 inches out of the top when I redraft the pattern – definitely should have ordered the 12. It’s too gapey under the arms and across the back.
- The top is lined and, to be fair, it did say somewhere that bigger busted ladies preferred a longer lining. This is right – I need to add 2 inches to the lining next time and am actually going to then elasticate it so it sits flush under the bust. Weirdly, the lining is not the same shape as the dress. It doesn’t have princess seams – I find this odd. It would lie better if it had the same seam lines as the main body – why is it different? With the right stretch fabric – you could easily do a bit of a built in bra shelf thing though.
- Also on the lining – why are we hemming lining pieces when they are attached to the dress and therefore having to work around reams of fabric – hem before you put them in!
- The same goes for the pockets – attach to the sides before constructing the rest of the dress – that way you don’t have to keep moving volumes of fabric out of the way! The instructions have pocket insertion happening much later on.
- The wing waist wrap – ummm, why is the wing bit a completely separate pattern piece that you have to sew on? I don’t get it? I know that gives options but surely just print the straight option onto the winged option and the sewer can cut the pattern accordingly – especially as the instructions say the winged option is the most popular. I will be cutting the winged option as one piece of fabric and doing less sewing.
- Also with the wrap – why don’t you turn it all the right way out as you sew it? This comes further down the line (I of course ignored this and finished the wraps as I sewed them).
- Oh, and I really didn’t need the neck tie. And for sure won’t need it when I take width out of the top.
- I managed to get a full dress out of one duvet side but I haven’t done it floor length and had to get creative with how I cut the pattern pieces. A beginner wouldn’t know how to do that necessarily. If you do need less fabric, the lining is there to finish off the neck and armholes but uses a fair bit extra of the fabric – you could just use bias binding to finish off the edges or a pretty lace. I think I’ll try that on the next one…..
In all honesty, I wouldn’t describe this as beginner friendly. I know it says that because it doesn’t have a zip but still, there’s some definite above-beginner-level stuff going on. I suspect though, I will make more of these and use second hand linen to make a wardrobe of pretty, cheap dresses and make more of discarded fabrics – giving an unloved duvet, a whole new lease of life!
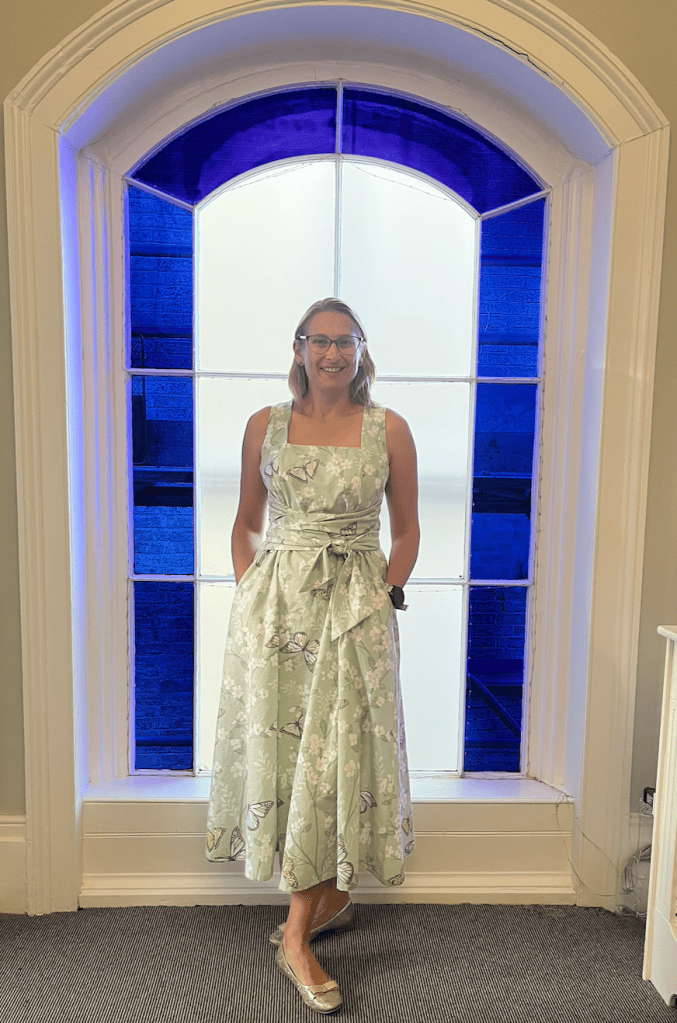
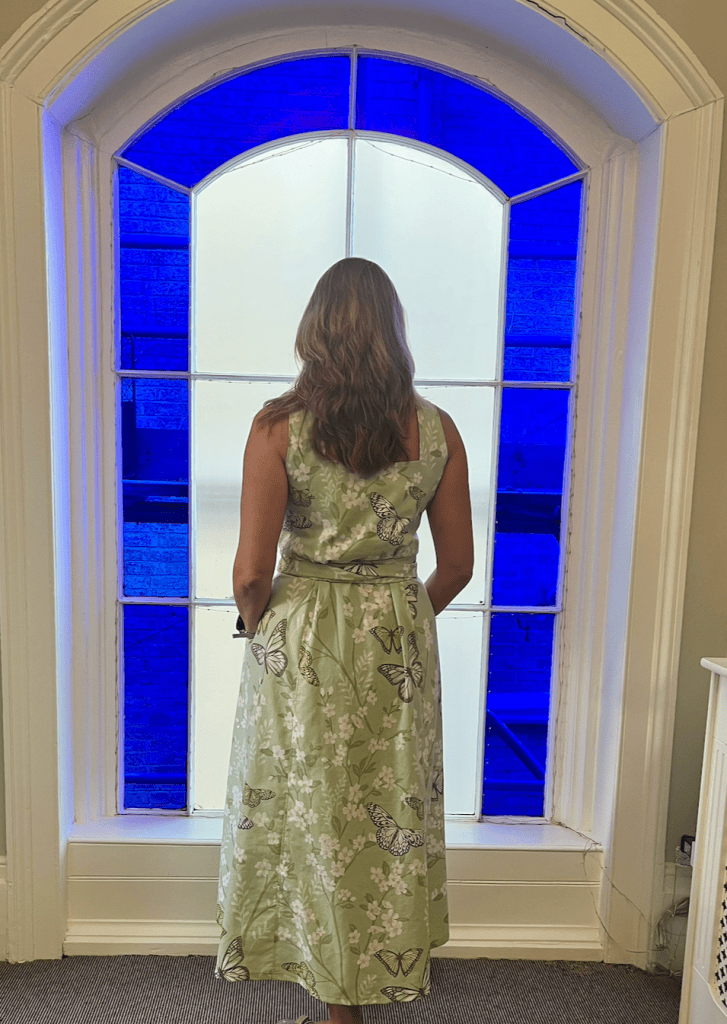
Version 2 coming shortly…… It’s the inside of said duvet cover so switch the yellow and green and you have a vision of what I am trying next – with a bias nekline and armholes for speed.
I’ve cooked nothing new and exciting in months.
 ROD's Island Life